
Guest Article By Lil’ Dino Mommy from http://www.ourlittledinosaur.com/
Organized Decor
A couple years ago, while I was pregnant, I had a strong urge to nest and prepare for the arrival of my baby. One of the ways I wanted to prepare was by decorating the nursery.
I wanted to take a practical, cost-effective approach to setting up the nursery, starting with organization. There are so many cute and unique ways to decorate and organize at the same time! (Just look at Pinterest!) One of these ways is by using fabric storage bins to put on shelves, in closets, or even in drawers (hey, baby clothes are tiny!).
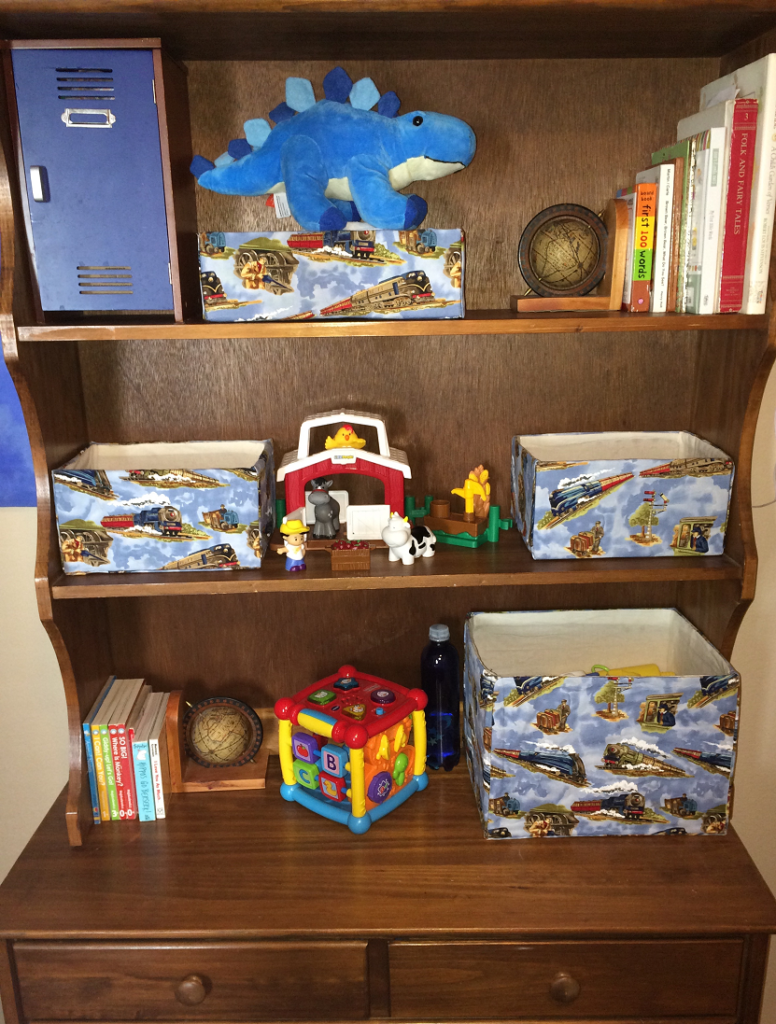
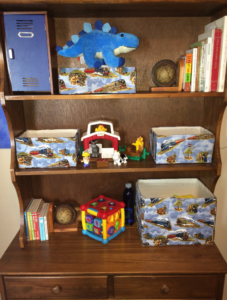
Fabric storage bins help to add color and life to a bookshelf or hutch. I knew I wanted to get some to decorate with, but when I priced them out, I quickly decided I wanted to try my hand at making my own.
How to Create Your Own Fabric Storage Bins – No Sewing
Here are 8 Simple Steps I used to create fabric storage bins for my son’s room:
1) Collecting Boxes – We order from Amazon (more often than I care to admit), so I started collecting boxes of various sizes based on where I thought I might use them. I saved a couple medium size boxes for toys and other baby shower gifts that were coming in.
(I also wanted a few small ones to put in the drawers of my son’s dresser, so I saved Kleenex boxes. These I lined with twine, which was a very tedious and completely separate project!)
Fold the fabric under to create a clean edge.
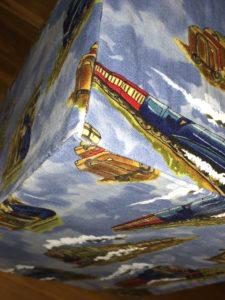
2) Picking out Fabrics – Next up, my husband and I went to Hobby Lobby to my favorite section in the store! FABRICS! We picked out a pattern for the outside, trains, as you can see, and an off-white color to line the inside.
3) Cutting the Boxes to Size – As I was using shipping boxes, I wanted to cut the top flaps off. I also trimmed a couple taller boxes to fit on the shelves I knew I wanted to put them on.
4) Taping or Gluing on Sheets of Paper. (Optional) – I did this because my fabric pattern had enough light spaces and I didn’t want the text from the box to show through, so I used the paper to help even out the tone all over my box.
 5) Cutting the fabric to size. – Admittedly, this took some trial and error for me, but the best way I found is to lay the fabric on the box and wrap it around and then cut it accordingly. I did a separate piece for the bottom. Be sure to leave some fabric to overlap the top and into the box.
Use a hot glue gun to attach the fabric
6) Gluing the Fabric on the Boxes. – Ideally, I would have liked for the cloth to have been removable instead of permanent for cleaning purposes. But in the spirit of a no-sewing project, I used hot glue instead. I glued the bottom piece first so that I could hide the rough edges when wrapping and gluing the final piece. It is best to hot glue a couple inches at a time because the glue cools too quickly to do a large area. (If the glue dries too fast, you can peel it off, but it does waste the glue sticks.) When you get close to an edge, fold it under to create a cleaner look.
7) Gluing the Inside Fabric. – Now it’s time to glue the fabric on the inside of the box. Start with the bottom and work your way up the sides. Once at the top, fold the edges at the top to create a clean look.
8) Use the Bins! – Start storing and decorating at the same time! Now your box is complete, and you can start storing things right away.
 DIY Fabric Storage Bins
Still Practical? Absolutely!
These bins are still being used in my son’s room to hold toys, clothes, diapering supplies, crafting supplies, and socks! The best part is, my son noticed the pattern I picked out just the other day. He crouched down and looked at his toy box, and exclaimed, “choo choooooo!”
What about you? What practical DIY projects have you found the most useful?
“Commit to the LORD whatever you do…”
Proverbs 16:3a